When considering online payments for restaurants, Stripe is easy and fast to set up, so the example in this article will focus on this gateway. Other payment gateways may work in a rather similar fashion, please contact them for any questions regarding their setup.
Sign-up with Stripe
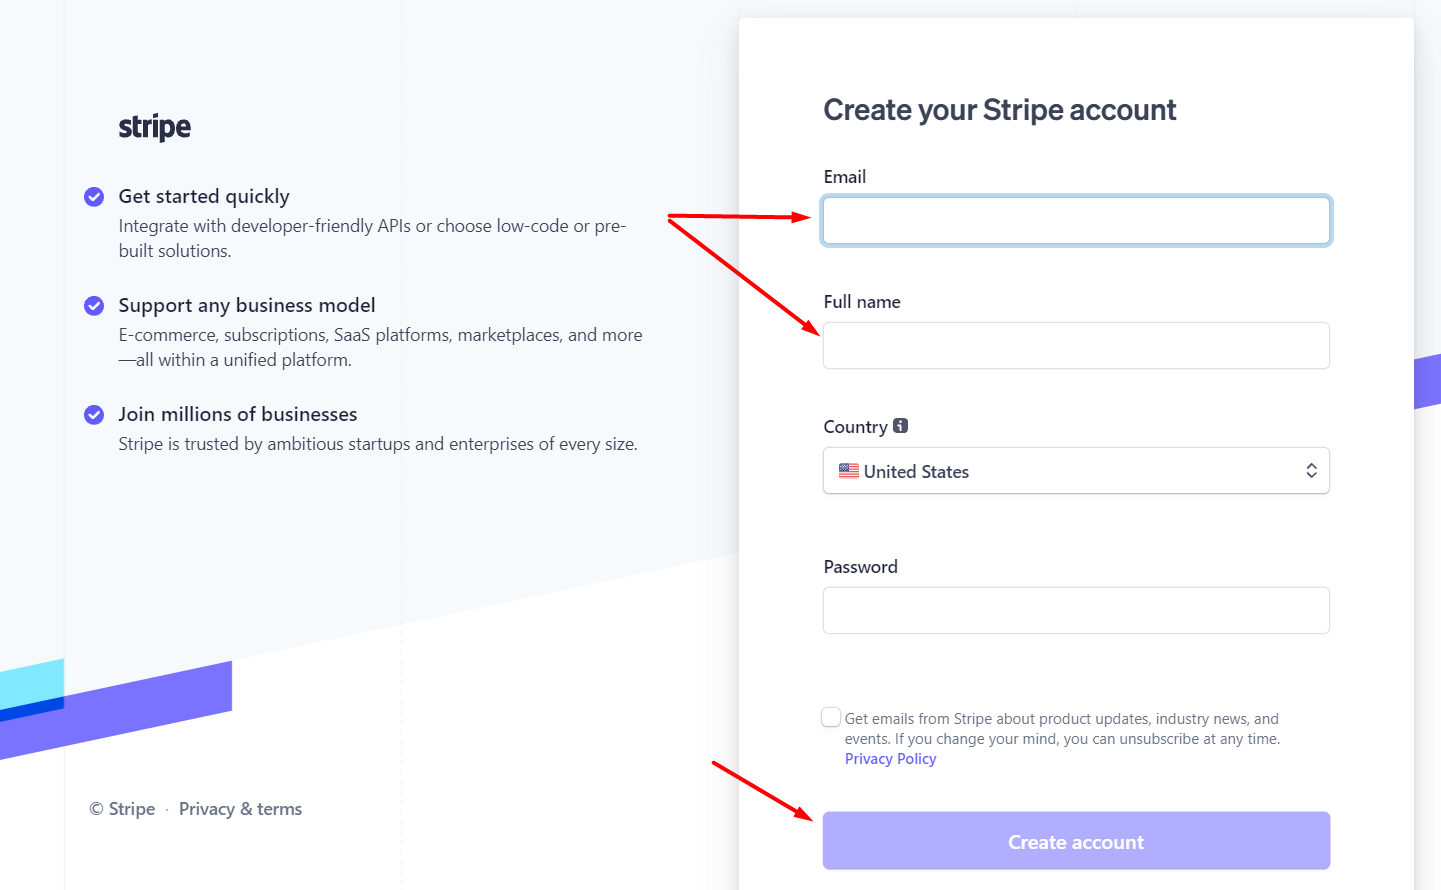
Go to www.stripe.com and click on “Start now”.

Fill in the required data and click on “Create account”:
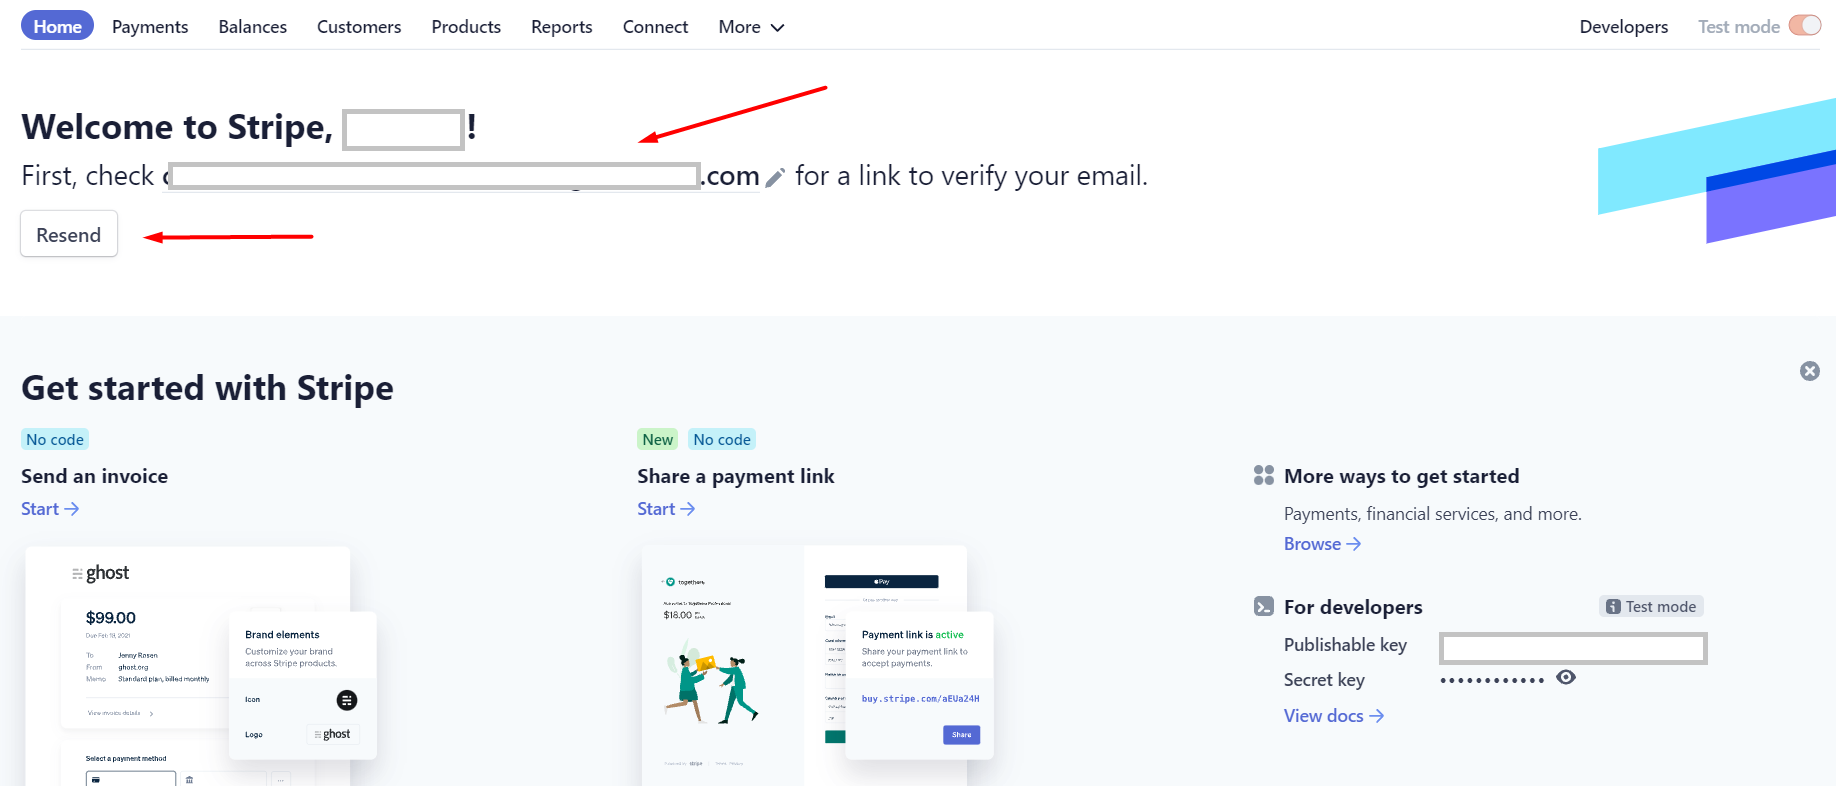
After this, you will be prompted to this window, where you are asked to check your email and verify it.
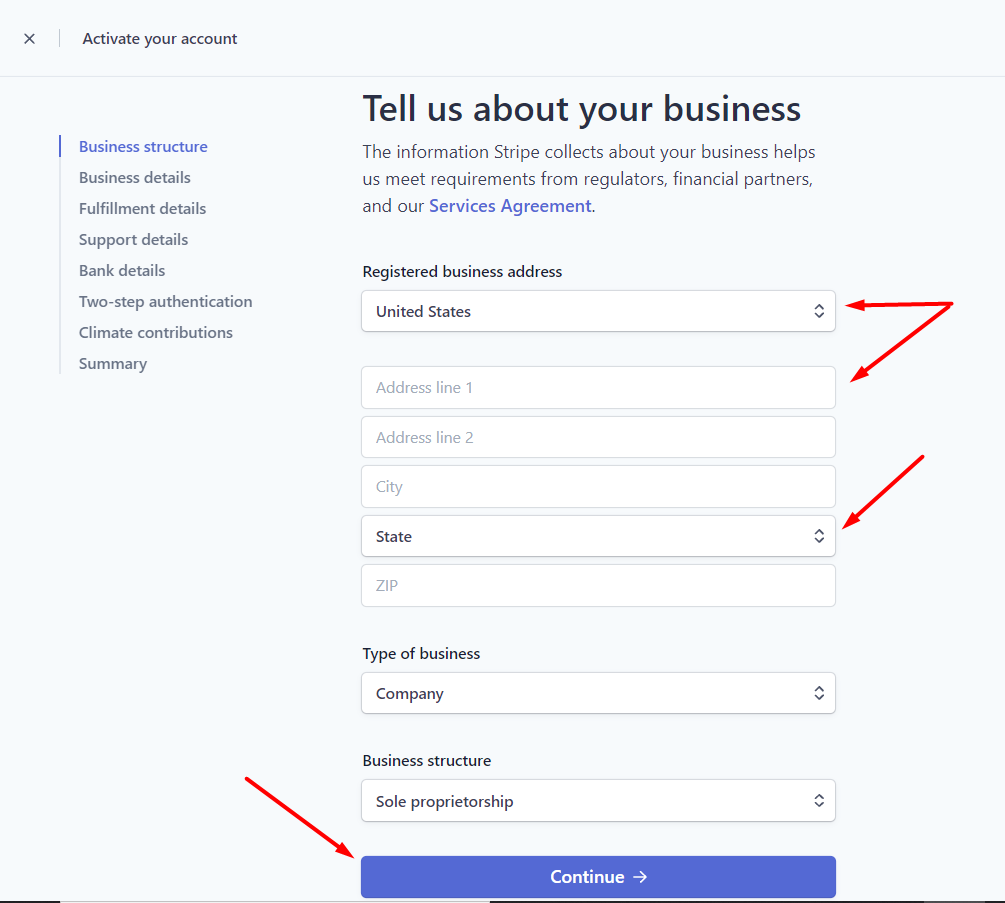
After email verification you will be asked to add your business details:

Once the restaurant's account was approved
After the restaurant accounts is approved make sure you are logged in to your merchant account, then go to the restaurant administration panel -> Setup -> Payments -> Providers and enable the online payments connector service.


Afterward, the restaurant can connect its merchant account with the online ordering service. The required fields are slightly different depending on the gateway the account holder chooses.
For Stripe, the account holder should click on Get Stripe keys from their restaurant admin panel, like this:

After you press Get Stripe keys, the Stripe merchant account will open to the configuration of your Stripe restricted key. Click on Create key.
Please do not modify the permissions.

Copy the key that was just generated, save it and store it to a secure space (e.g.: password manager, secret store). Then click Done.

From the Stripe API Keys section, copy the Publishable key and Restricted API key:

Then paste them in the restaurant admin panel -> Setup -> Payments -> Providers, and click Connect:

This is how it looks after the merchant account has been connected:

Now that you know how to connect a merchant account to your online ordering system, check the list of payment gateways in your country.