It is possible to track the visits within the ordering menu and measure the conversion rate of your orders based on the menu visits, using the Google Tag Manager integration provided by the system and connecting it to the Facebook Pixel platform.
The restaurant manager will have to copy a piece of code from the Google Tag Manager and paste it into the restaurant account.
Here are the steps:
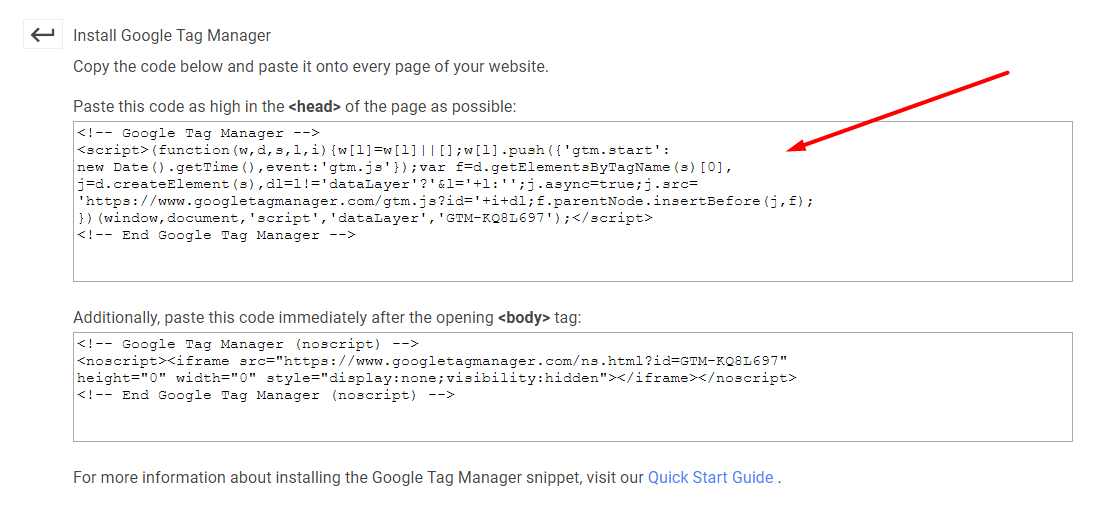
Access the restaurant's Google Tag Manager -> Admin tab->Install Google Tag Manager section
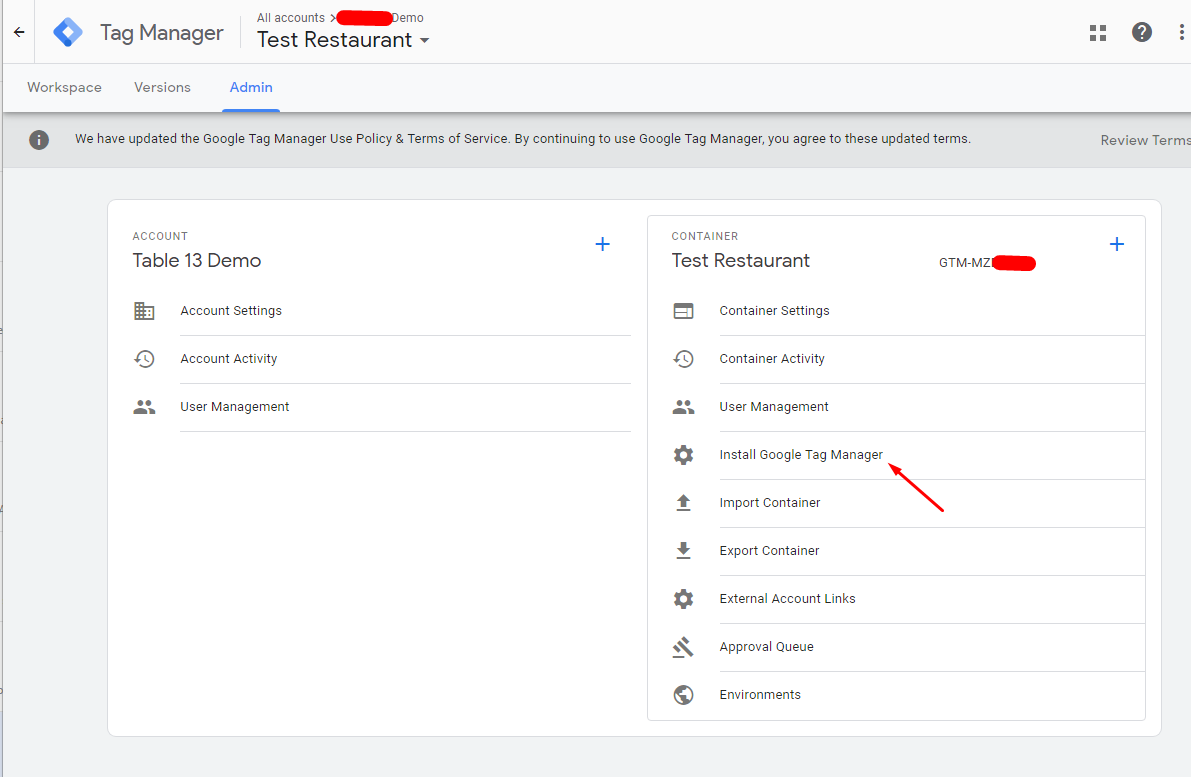
Copy the first code (the second code is not needed)
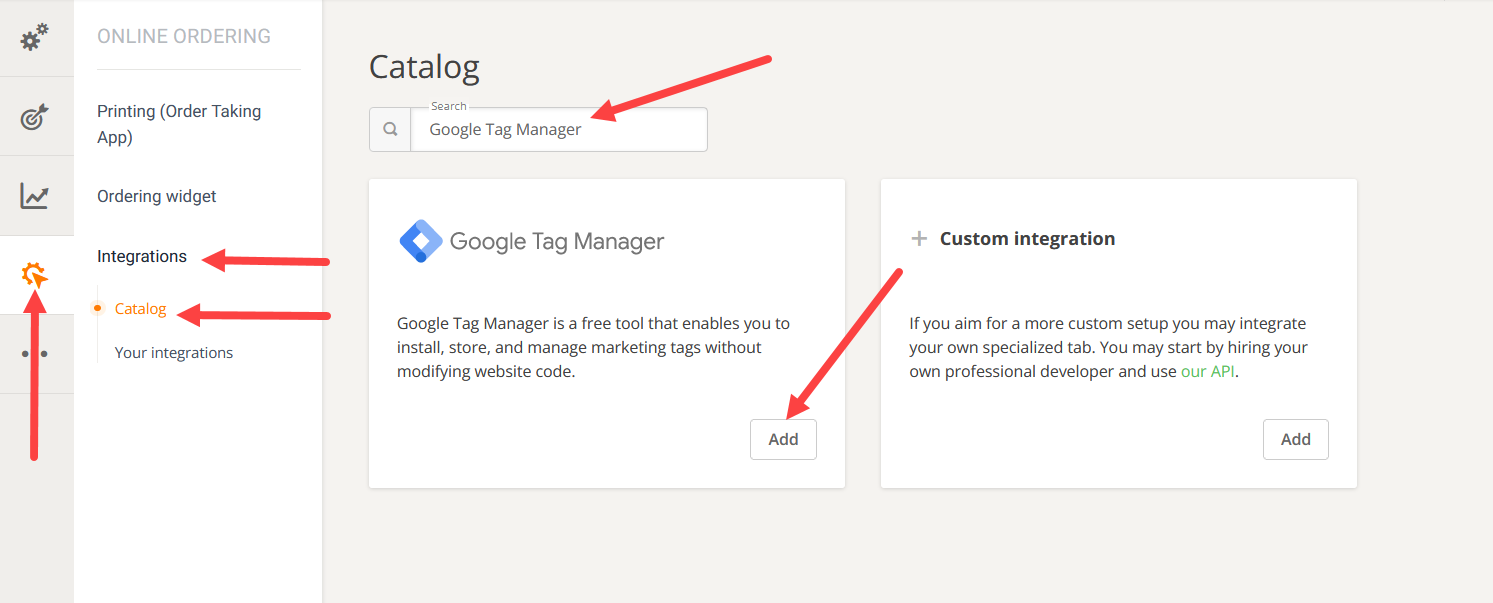
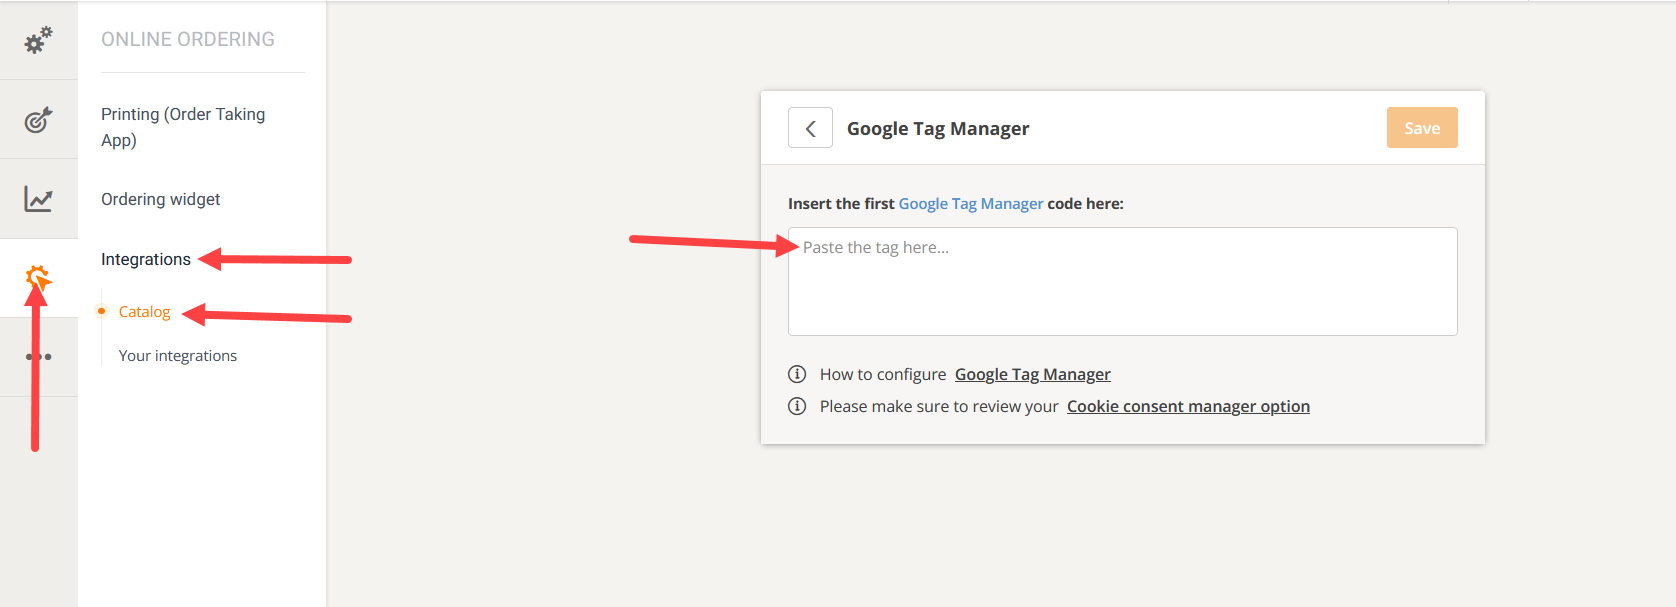
Go to the restaurant’s Admin area-> Online Ordering-> Integrations -> Catalog and paste the code:
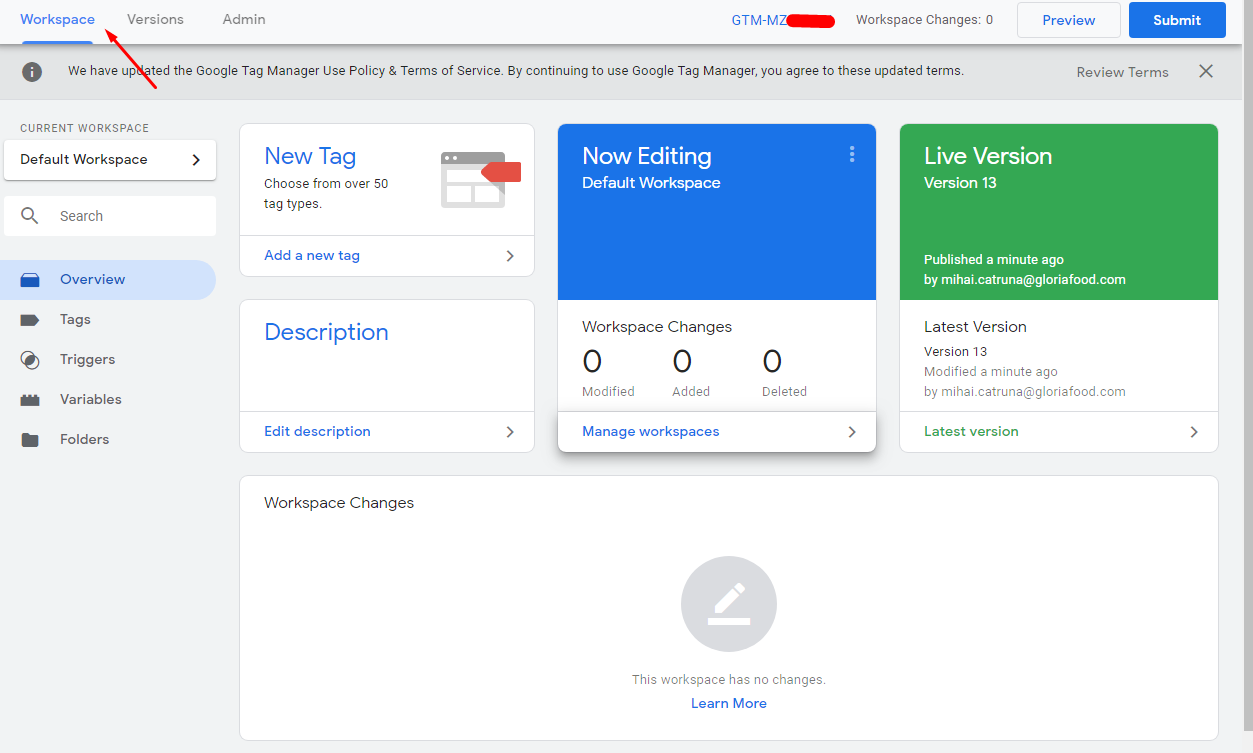
Return to Google Tag Manager -> Workspace tab:
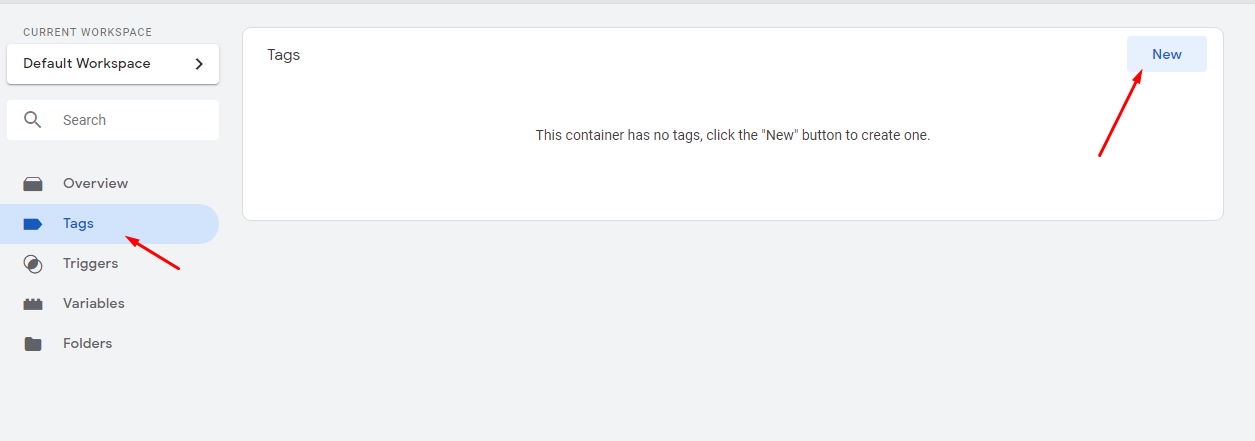
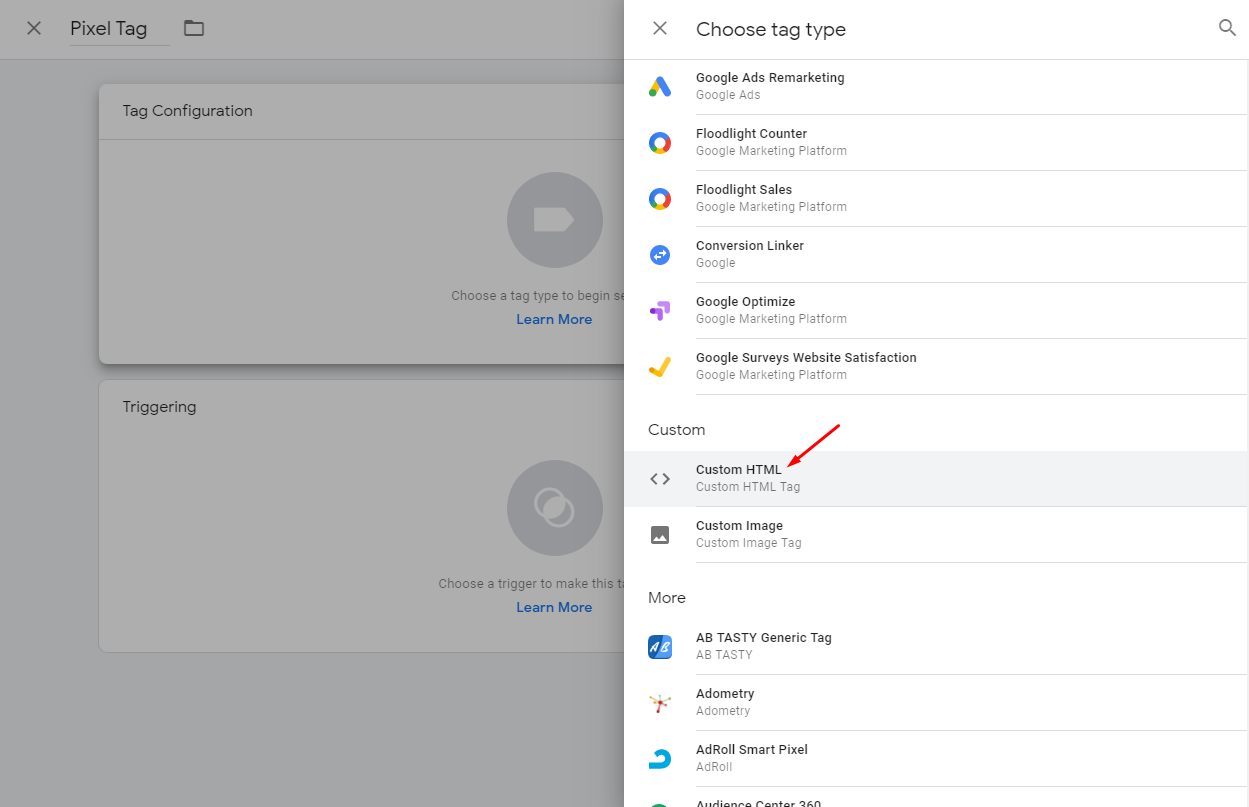
Add the Custom HTML Tag from the Tags Section by pressing on the New button:

In the Tag configuration screen, the restaurant manager will need to add theirPixel HTML code which they will be able to get from their Facebook Business account:

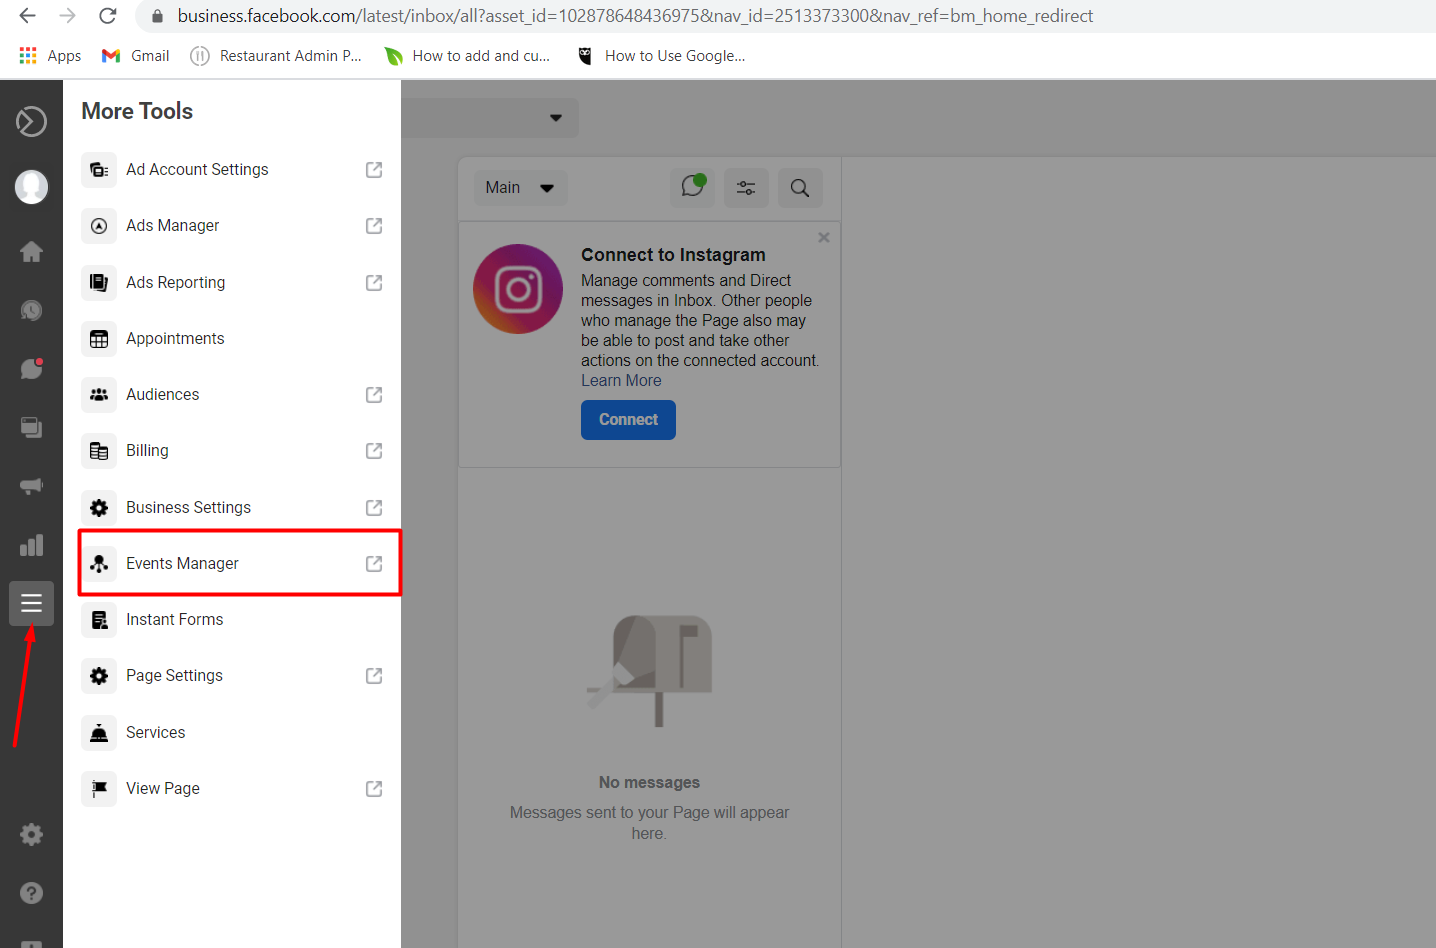
To do this, access Facebook Business account -> More Tools -> Event Manager:
If the restaurant manager has not already created their Pixel, then the Connect Data Source will be visible:
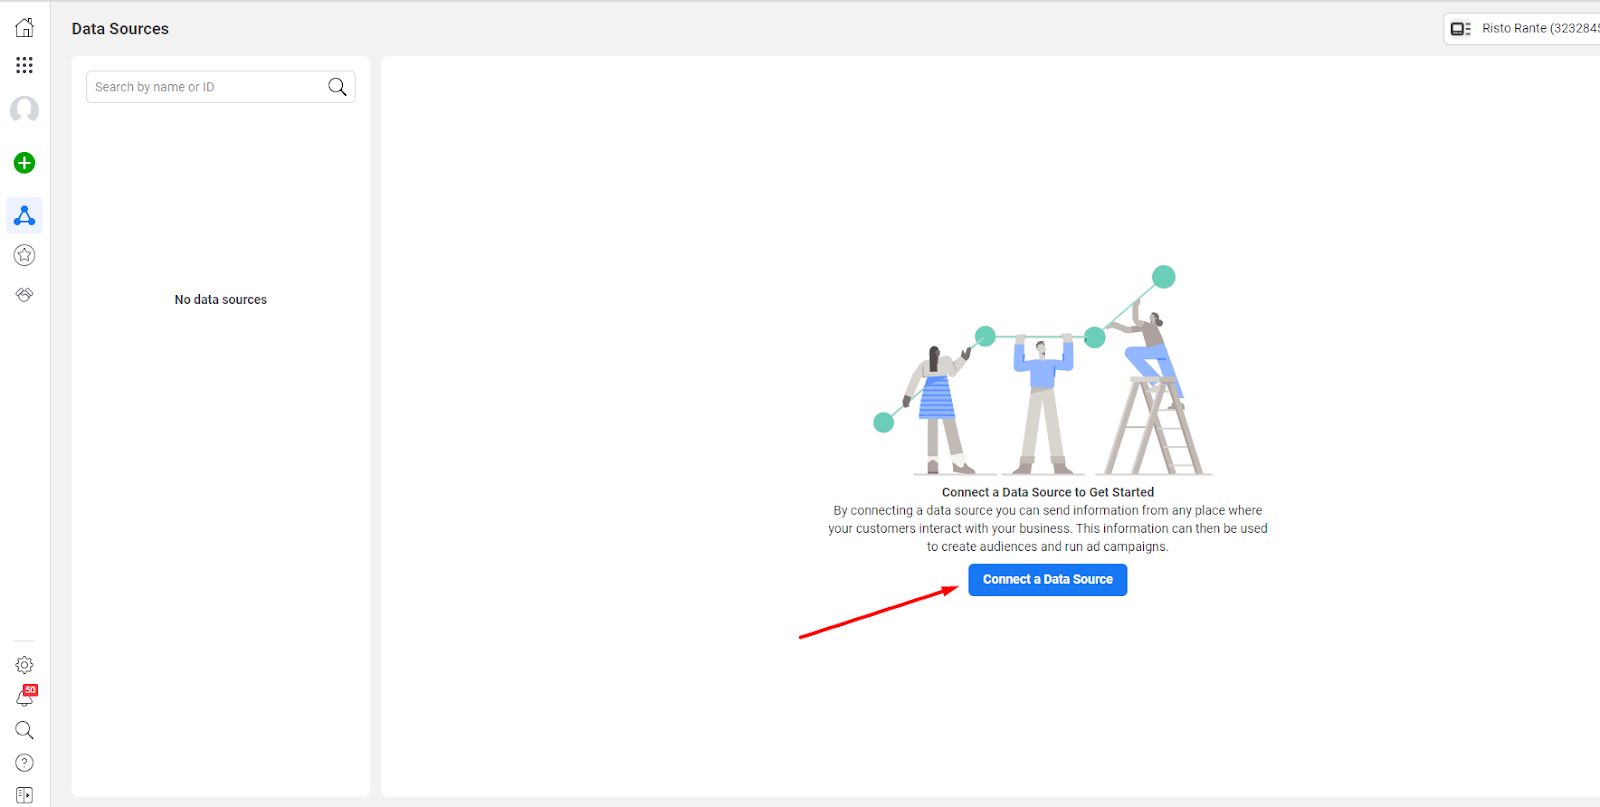
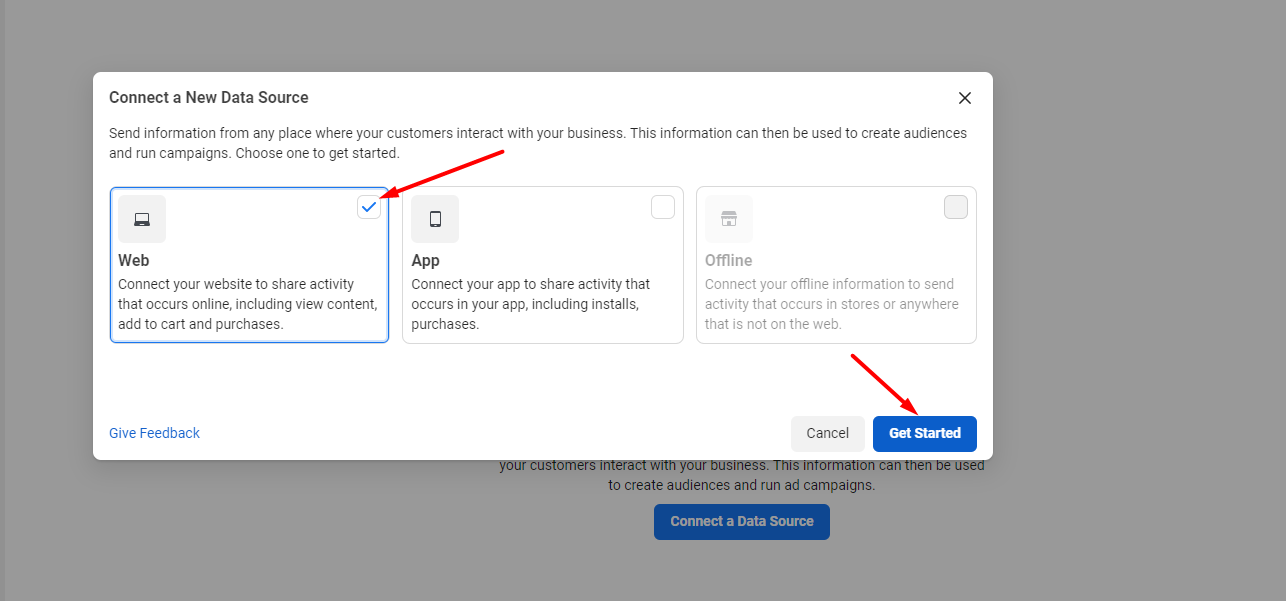
Click on it, select “Web” from the options on the screen, then click on “Get Started”:
Select “Facebook Pixel” and click on “Connect”:

Name the pixel and click “Continue”:

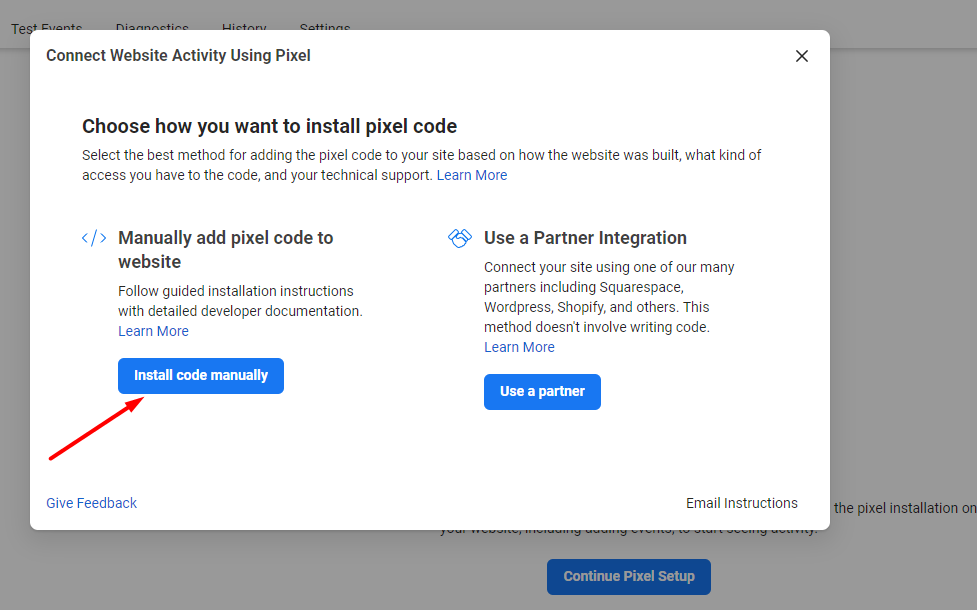
From the following screen select “Install code manually”:
Copy the code:
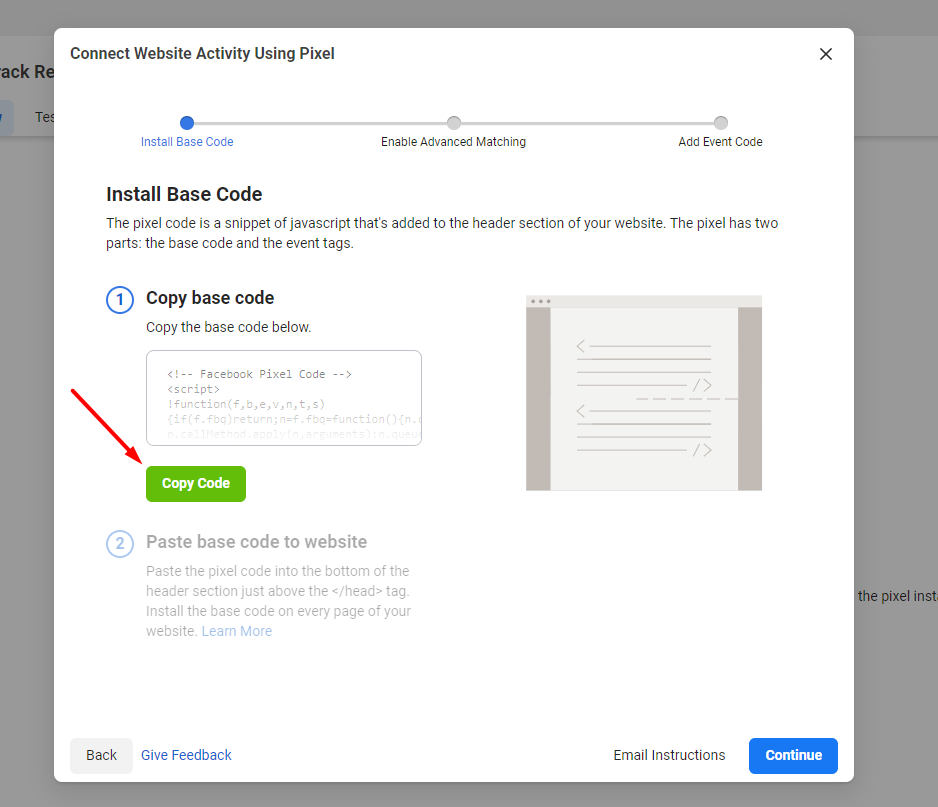
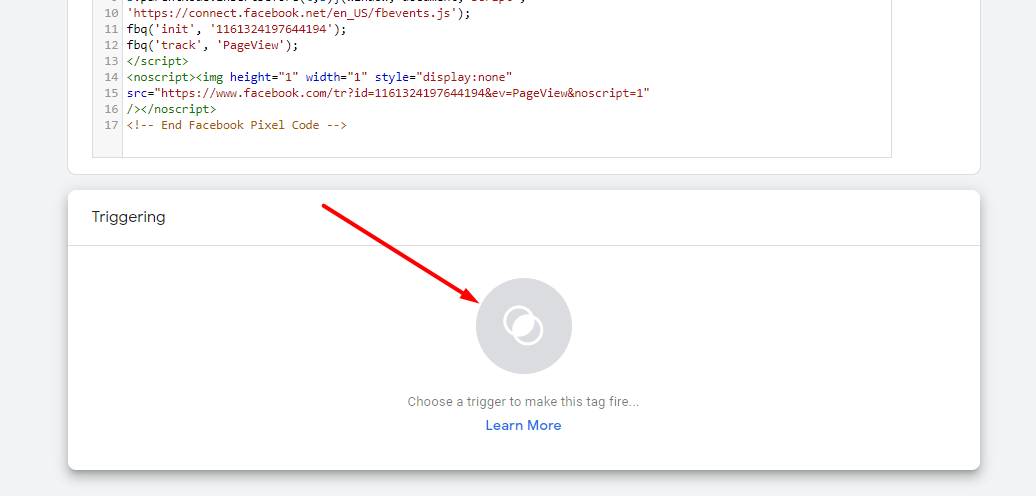
And then go to the restaurant's Google Tag Manager account and insert it there:

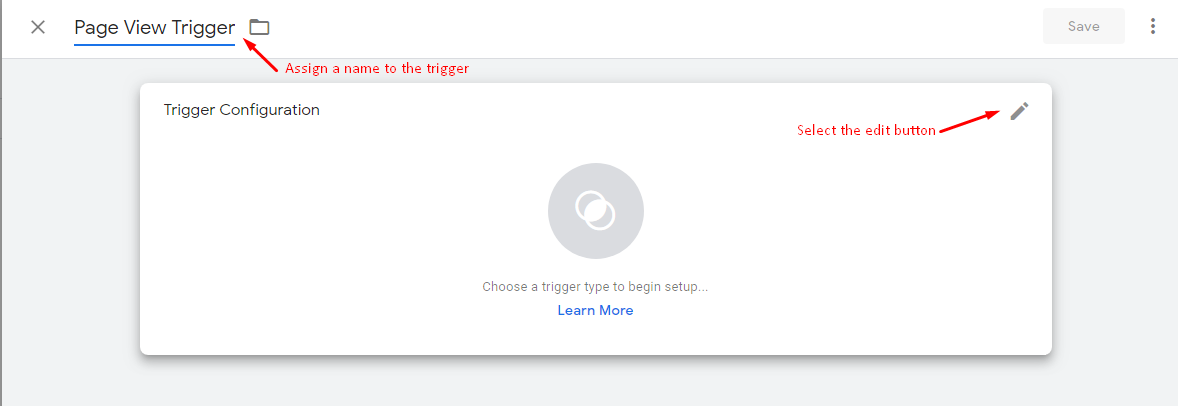
The next step is to configure the two triggers for the Pixel tag. The restaurant manager can do this by clicking on the Triggering field, like this:
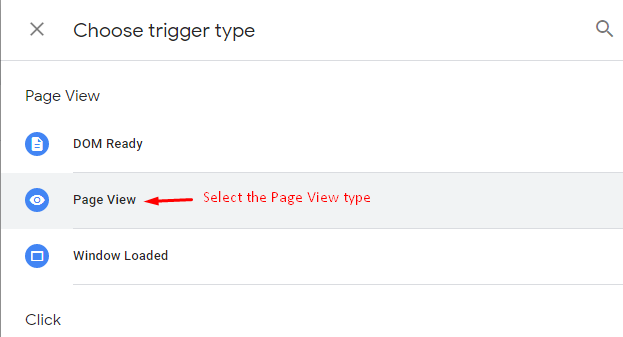
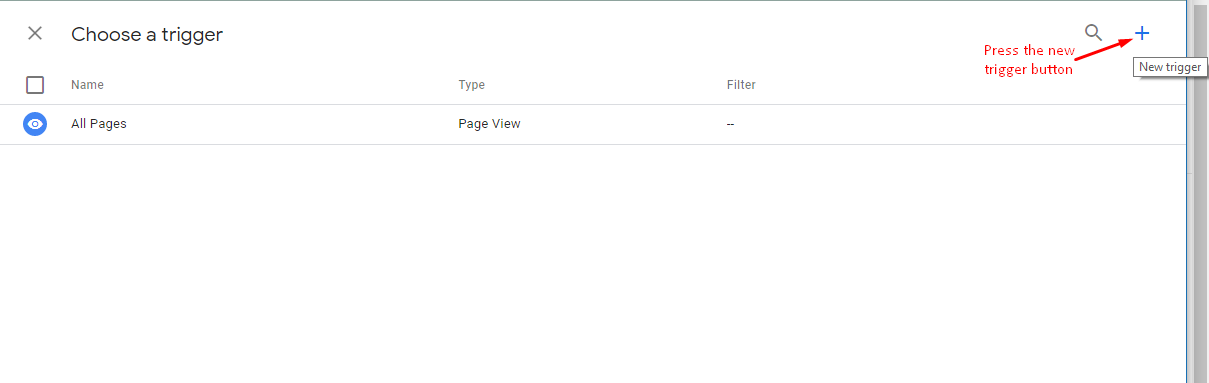
a. Page View - so the restaurant manager can see each page in the Pixel dashboard (whenever there is a different URL);


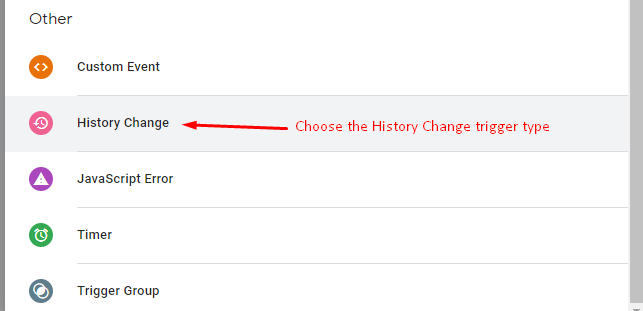
b. History Change - so the restaurant manager can see each step of the cart in analytics (the widget is a single-page app, so there’s one URL, which is why this is needed in addition to the Page View trigger).


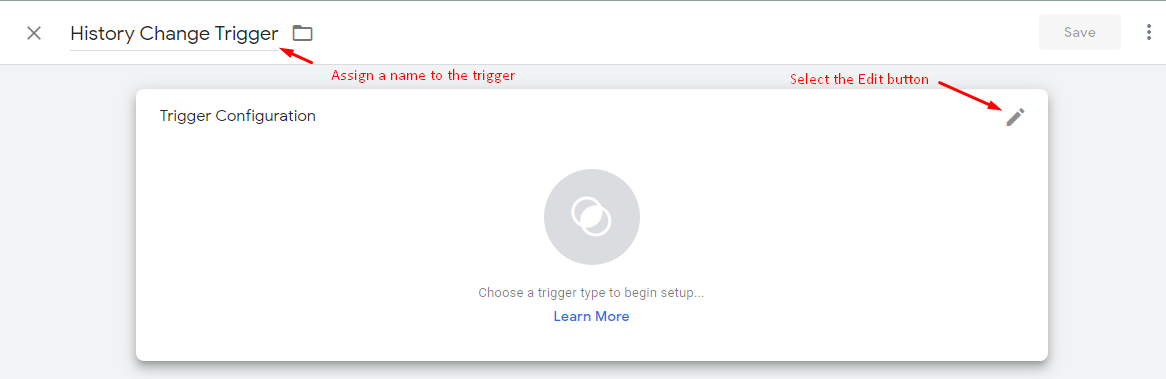

Once both triggers have been configured, press Save in the Tag Configuration page:

In the Workspace tab, the restaurant manager should see the Tag they configured and the triggers. To submit the changes made, press the SUBMIT button:
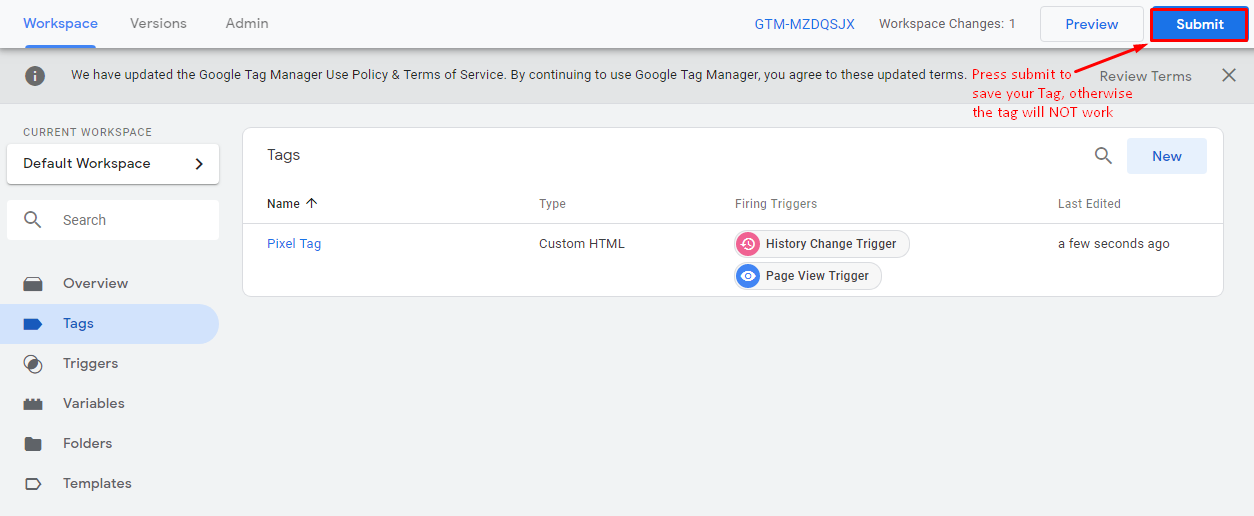
IMPORTANT: If the restaurant manager does not submit the changes, then the integration will not work. Also, if at first no changes are visible in the workspace tab, then please make sure to refresh the browser page.
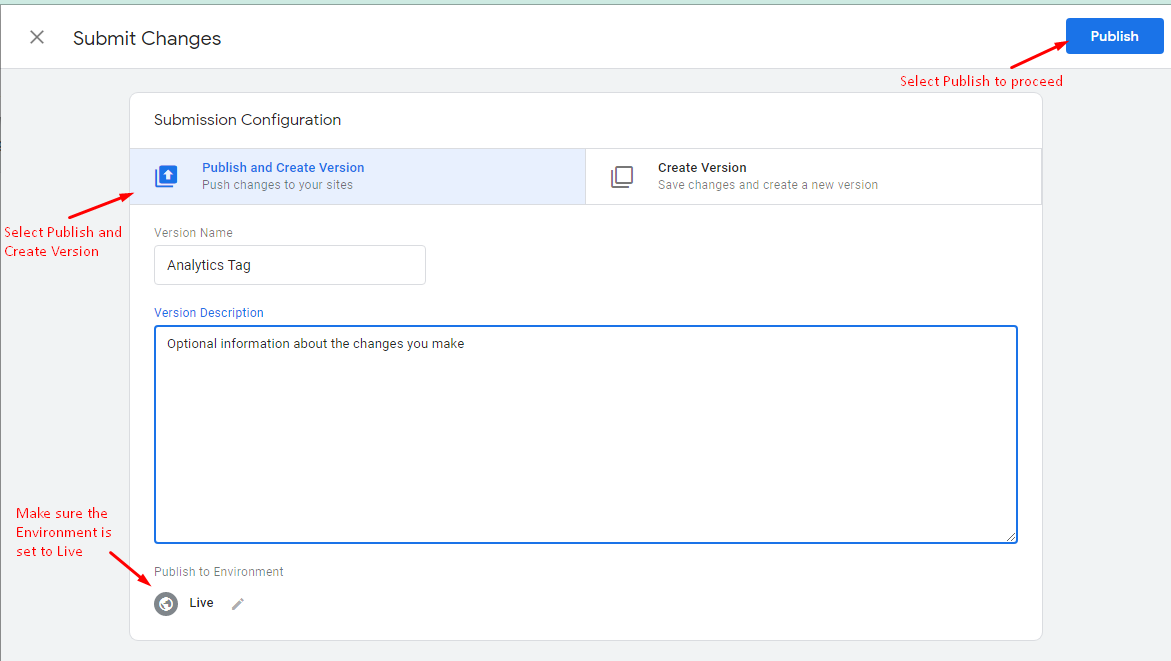
Once the changes are published, when the restaurant manager accesses the Workspace tab, the message in the green box should be “Live version” followed by the version number of the Tag Manager setup. If the restaurant manager sets this up for the first time, the version should be 1.

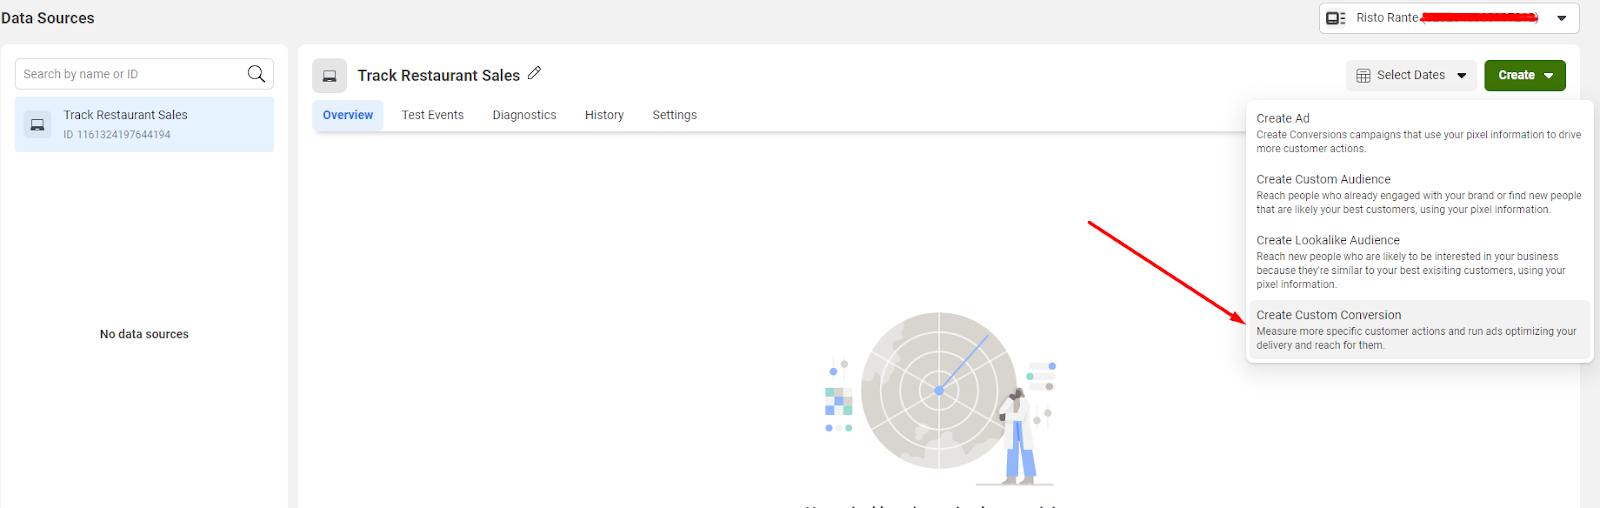
Once they have published their tag, they can proceed to set up a custom conversion using the Facebook pixel.
In the Data Source section, click on the “Create” button and then select “Create custom conversion”:
When creating the custom conversion, in the "URL contains" field input the "accepted" value and select the “Purchase” category. As a final step input a name for the custom conversion and select Create:
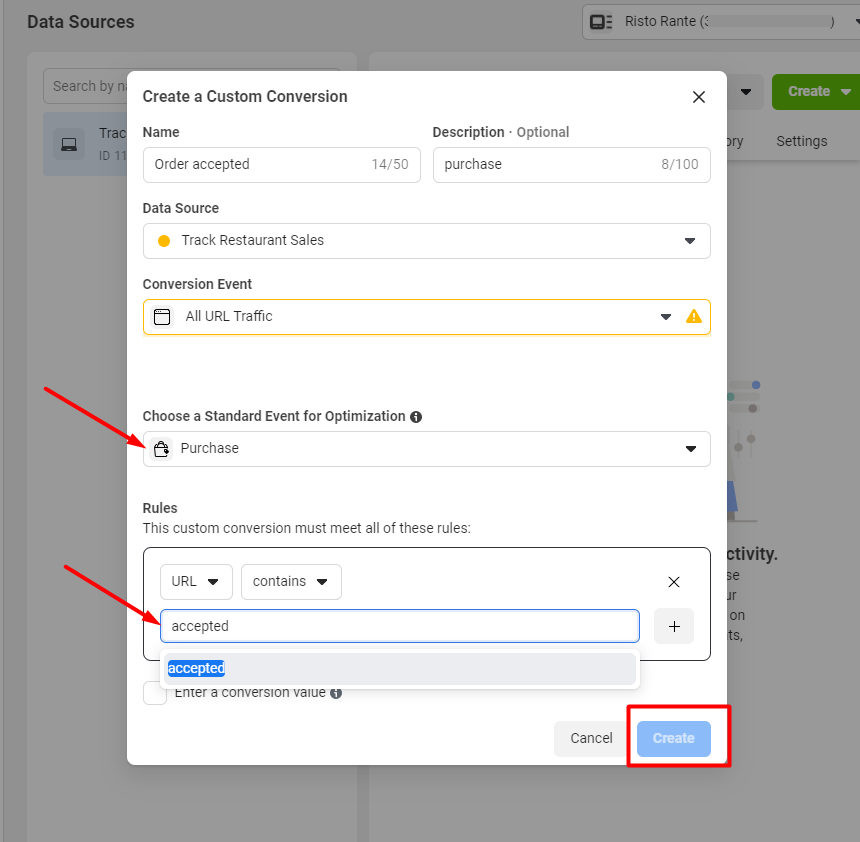
Since the ordering widget URL doesn't contain any values, it is not necessary to configure a conversion value.
It is good to mention that, if the order was placed outside of restaurant business hours they may configure a similar custom conversion for the orders for later. Within our system, the URL for orders for later is /ordering/restaurant/menu/outcome/later?.
So the restaurant manager simply needs to make another custom conversion with the phrase "later" instead of "accepted", like this:

However, since Facebook pixel tracks the page views, it will not be possible to tell which of the tracked orders, placed outside of restaurant opening hours, have been accepted or not, as the food client by then will no longer be on the respective page.
Afterward, the restaurant manager will be able to track the order conversions in the Custom Conversion section of their Event Manager dashboard:

Please be advised that the conversion data is not updated in real-time. So it may take a couple of hours for the data to be visible.